Skip to content


Product Link
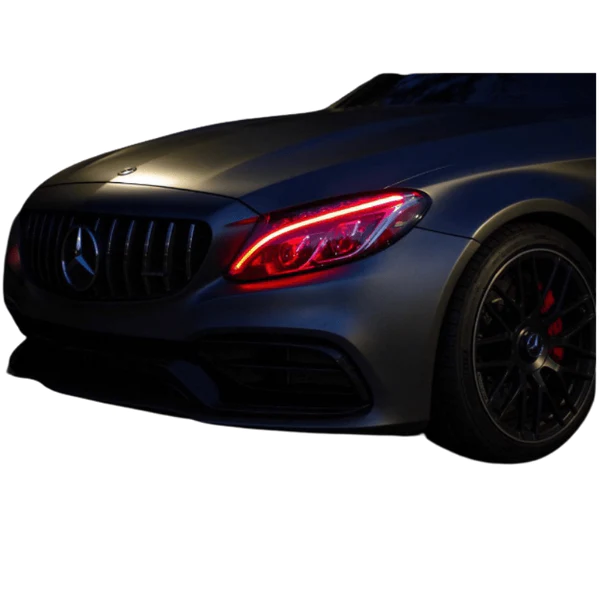
2015-2018 Mercedes Benz C Class Multicolor DRL Boards
Tools You'll Need
A compatible screwdriver set.
A clean cloth or microfiber towel
Safety gloves (optional but recommended)
Install Guide
Step 1: Test your Product. This ensures no manufacturing defects are in the LEDS, and that you understand how to wire your product properly. See the wiring guide that comes with your product or visit our Wiring Guide.
Step 2: Installation Procedure
Preparing Your Vehicle:
Position your vehicle on a level surface with the engine switched off.
Turn the steering wheel to one side for easy access to the wheel well cover plate.
Accessing The Headlight Module:
Locate and unscrew the wheel well cover plate using a suitable screwdriver. Keep these components for later use.
You should now have access to the headlight module.
Removing The Heat Sink Module:
Detach any connectors or wiring harnesses from the headlight module.
Carefully remove the module from its position.
Removing The Original DRL Boards:
Dissemble the original DRL board from the heat sink module.
Utilize the required tools to unfasten the original DRL board.
Disconnect any associated connectors or wiring.
Note the positioning and orientation of the original Light PCB for future reference.
Installing The New DRL LED Boards:
Position the new DRL LED board in the original mounting points on the heat sink module.
Connect the chip and secure it using the provided screws, clips, or connectors, following the manufacturer's guidelines.
Reconnecting The Heat Sink Module:
Recheck all connections to verify the secure installation of the LED board.
Reconnect the heat sink module to its original location.
Reattach any wiring harnesses or connectors that were disconnected.
Reinstalling The Cover Plate:
Align the cover plate with the mounting holes and reposition it back into the wheel well.
Reinsert and secure the screws or fasteners.
Ensure the cover plate is flush with the wheel well and sealed properly.
Conducting Final Checks:
Inspect the installation area for any loose parts or wiring before starting the vehicle. Wire your RGBW LEDS according to our RGBW Wiring guide.
This video is meant to be a general guide and may not be an exact step-by-step instruction.
The third-party video in this article belong to their creators and are used by RGB Halo Kits for instructional purposes. We don't own these videos, and their accuracy isn't guaranteed. If you have concerns about the content, please don't hesitate to get in touch with us. Users agree to these terms by using the videos.