 Skip to content

Enhance your 2019-2023 Camaro SS with our comprehensive RGBW DRL Running Lights Installation Guide. Elevate both style and visibility effortlessly with step-by-step instructions tailored for seamless integration, ensuring your Camaro SS shines brightly on the road with customizable lighting options.
Product Link
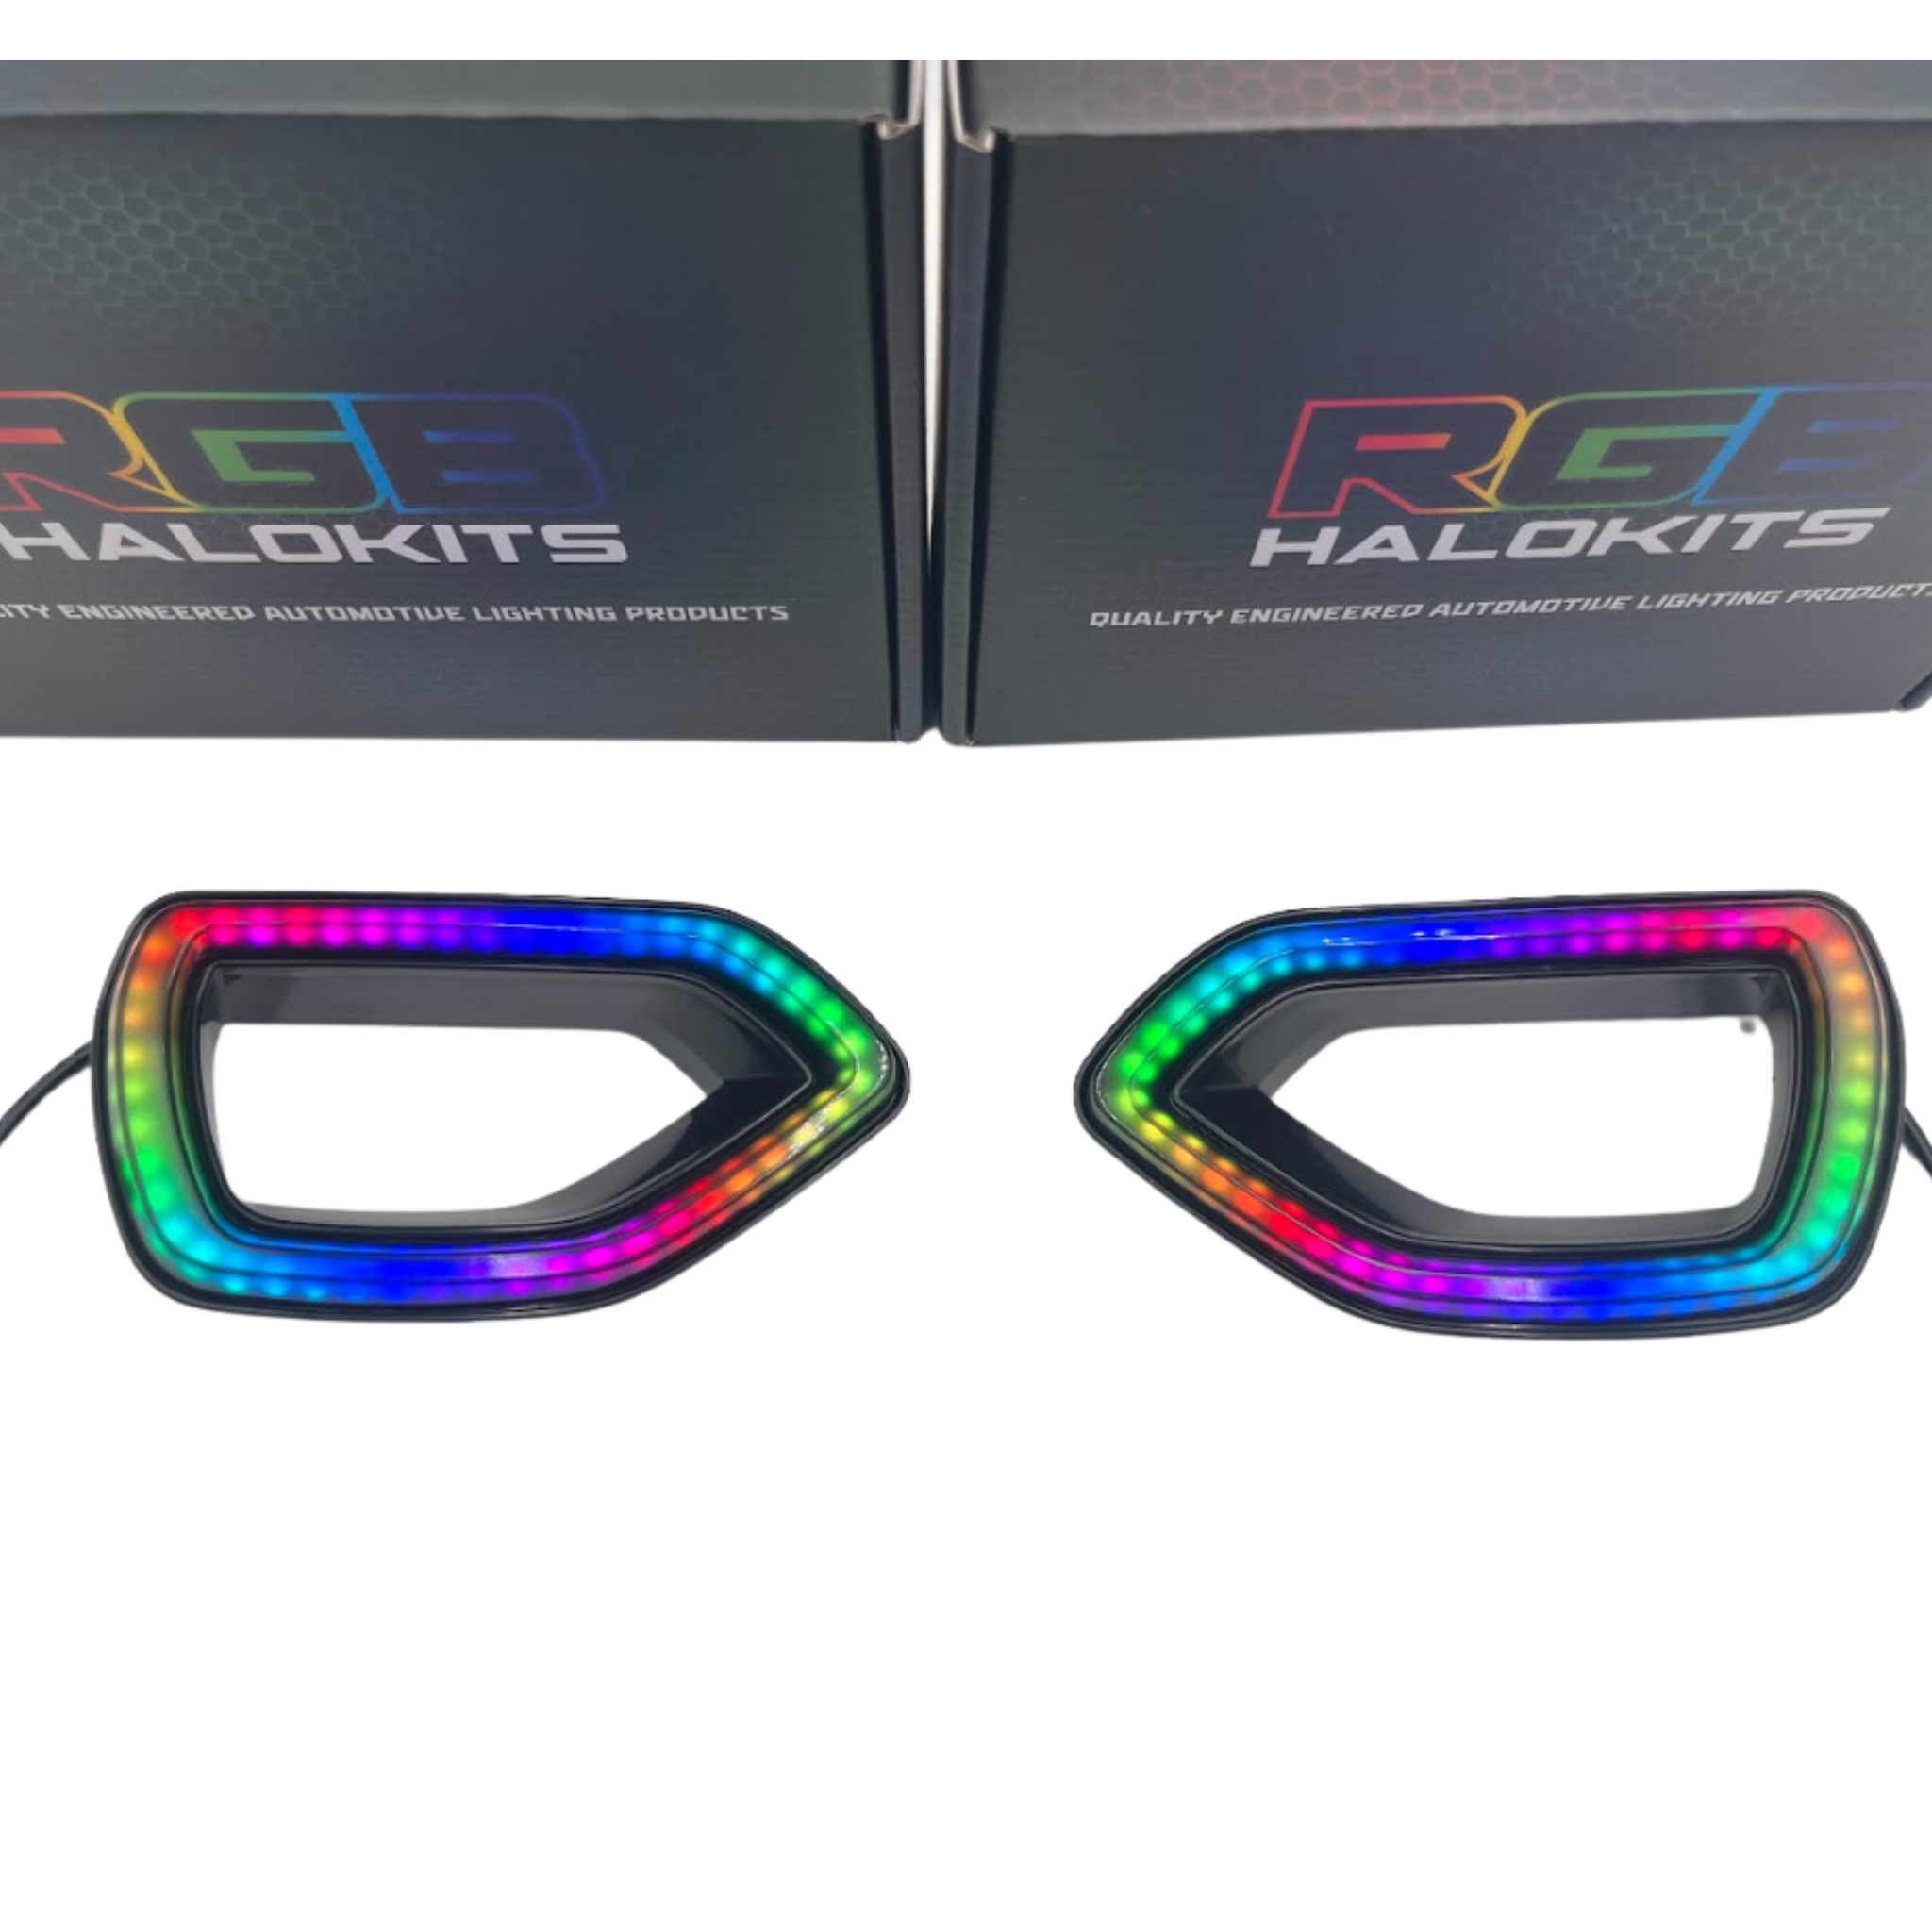
2019-2023 Chevrolet Camaro SS/RS Multicolor RGBW DRL Boards – RGB Halo Kits
Step 1: Test your Product. This ensures no manufacturing defects are in the LEDS, and that you understand how to wire your product properly. See the wiring guide that comes with your product or (visit our Wiring Guide (RGBW and RGBWA).
Step 2: Remove your bumper to access headlights.
Step 3: Open your headlights.(*Headlights can be safely opened and resealed using the process outlined in the video below)
Step 4: Install your LED Product into your headlights.
Step 5: Reseal your headlights (see video above) or click here for full guide.
Step 6: If you haven't already, wire your LED Product onto your car using the included wiring guide or see our Wiring Guide.
The third-party video in this article belong to their creators and are used by RGB Halo Kits for instructional purposes. We don't own these videos, and their accuracy isn't guaranteed. If you have concerns about the content, please don't hesitate to get in touch with us. Users agree to these terms by using the videos.