Skip to content

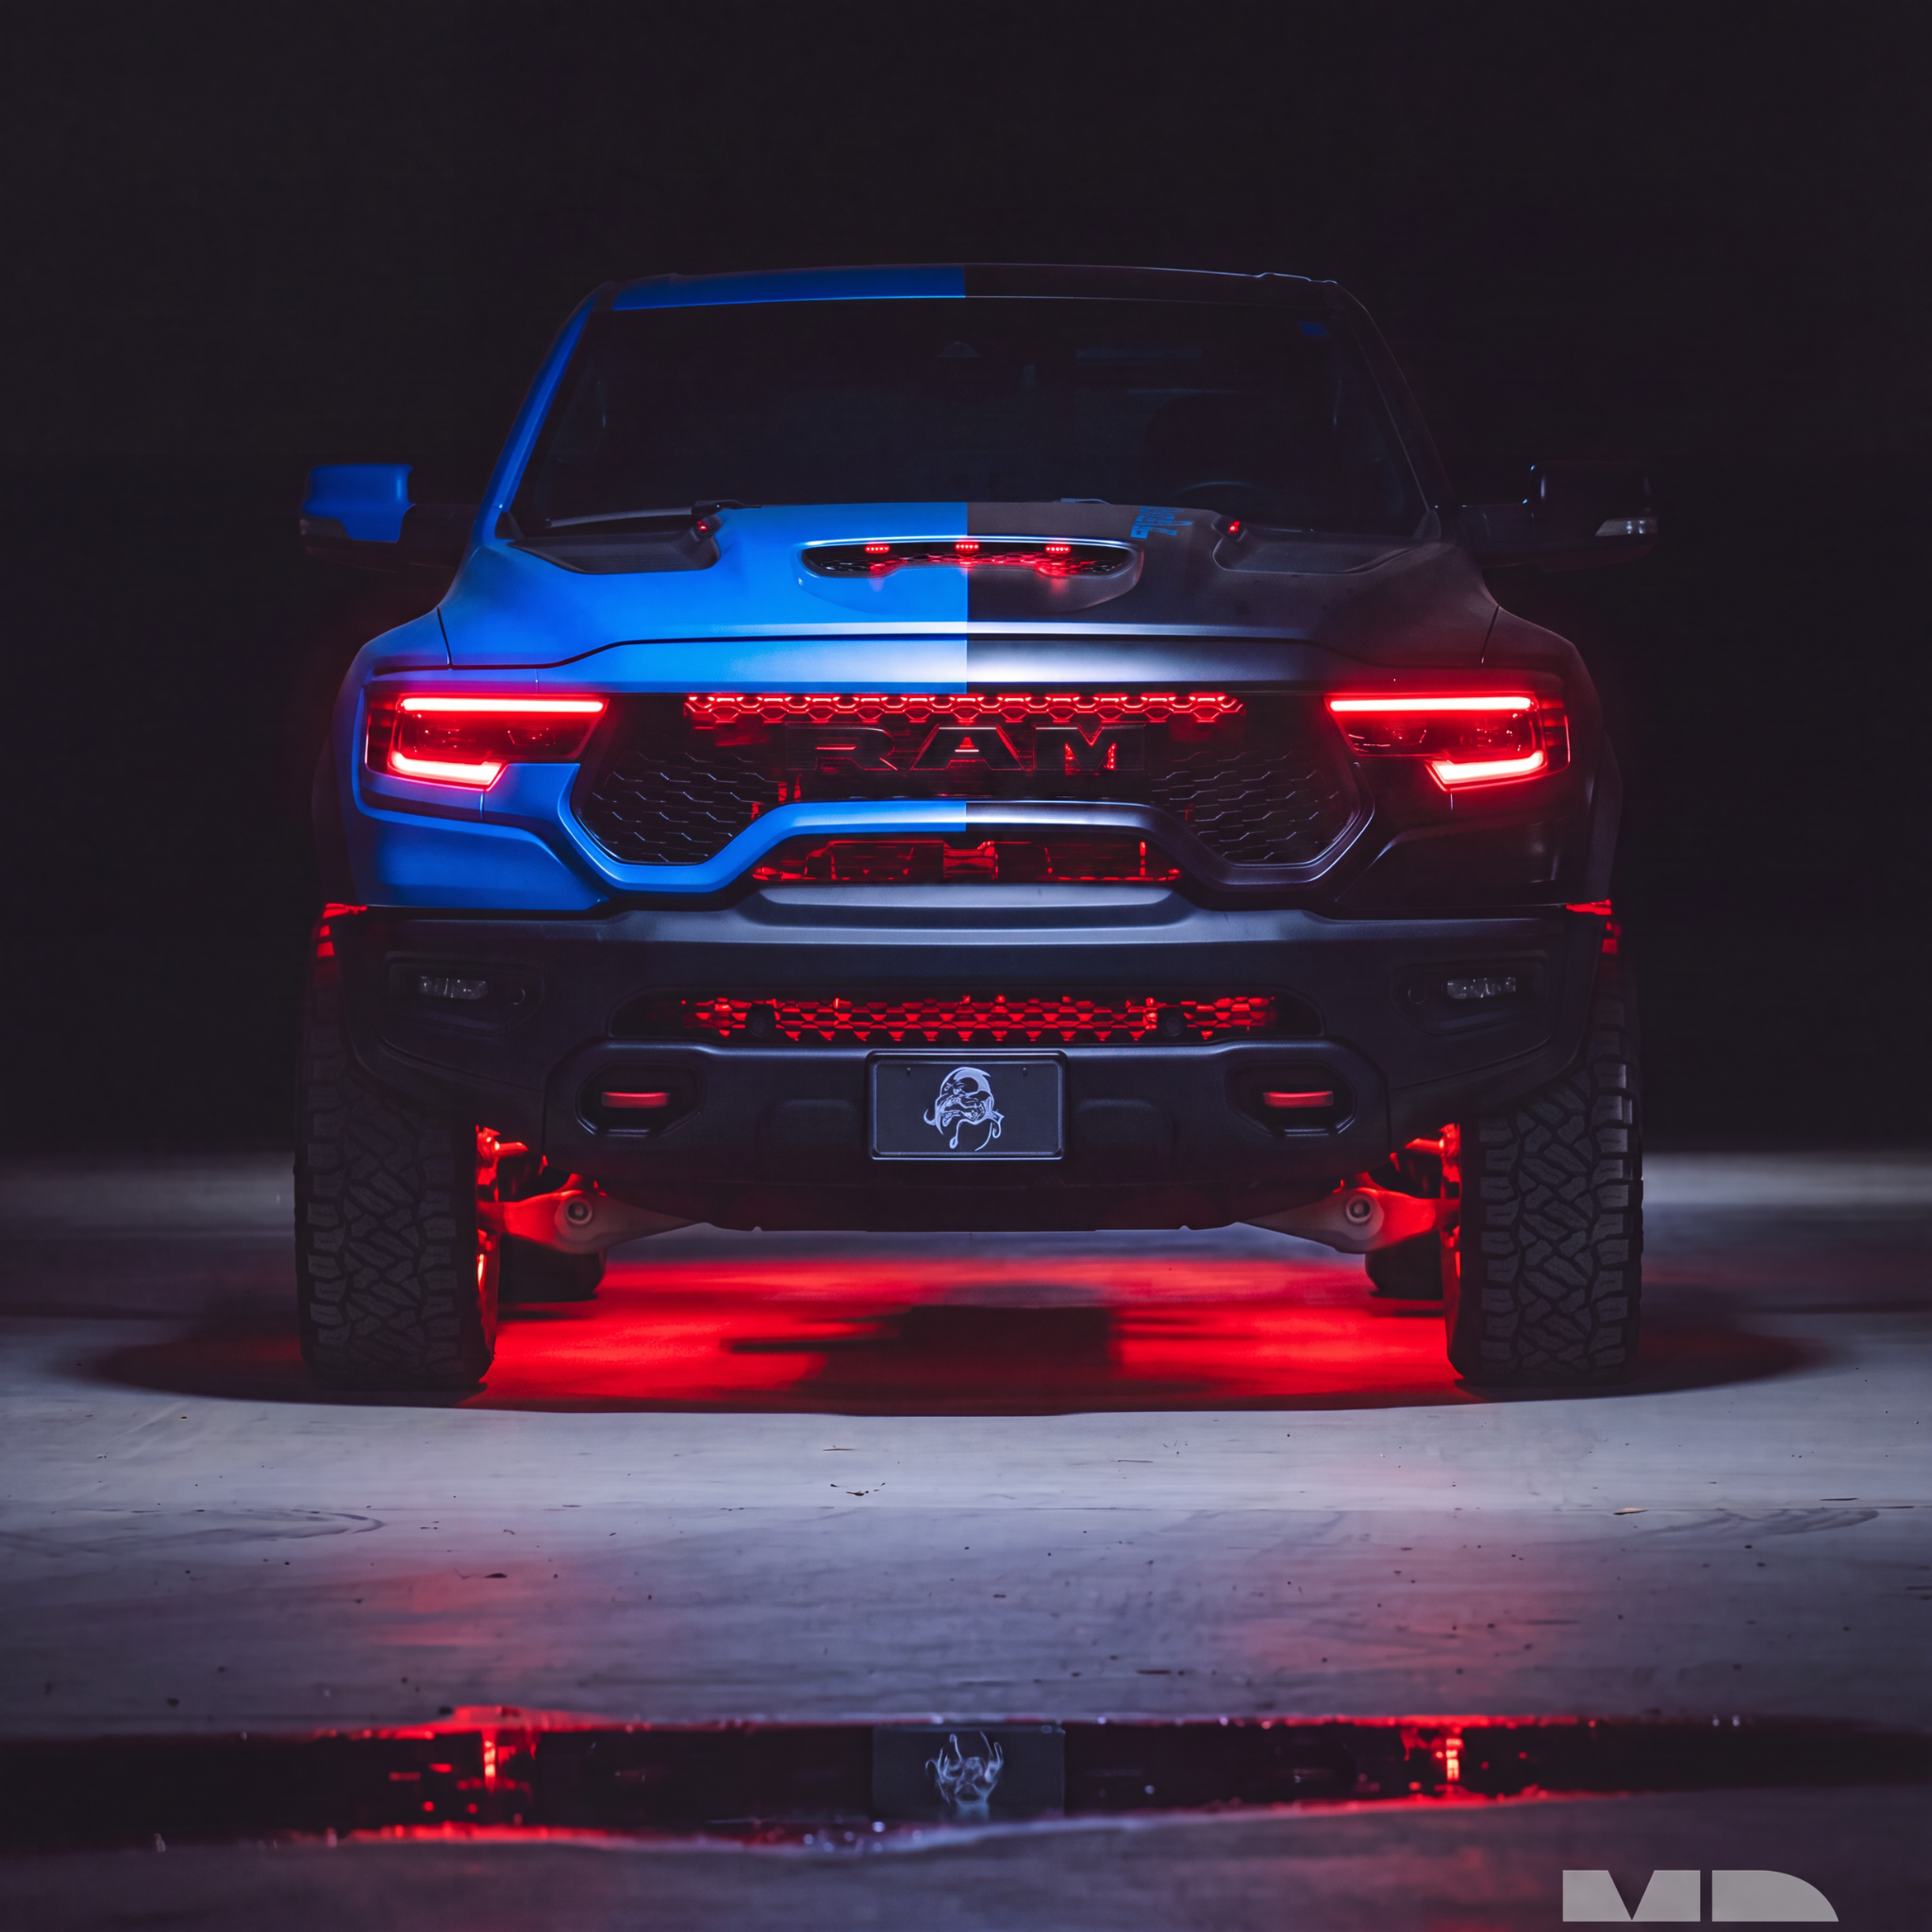


This installation reference covers GMC Illuminated LED Emblem Install. Match the product, vehicle configuration and controller part number before starting.
Part # J1, J2, J3, J4, J5, J6, J7, J8
Illuminated Led Light Up Logo GMC Emblem Multicolor
Installation Guide
Step 1: Remove grille from vehicle.
Step 2: Remove factory GMC letters from grille: to remove release holding tabs on back of factory emblems
Step 3: Remove the factory (red) GMC letter inserts: This can be accomplished by drilling out the plastic pins located on the rear of the factory emblem.
Step 4: Installing the Multicolor LED Letters: Next, peel off the red 3m tape on back of your multicolor letters and stick firmly in place while routing wires though the opening closes to the placement of the wires. * You may need to depin the led connectors on the multicolor letters or widen the hole on the factory chrome letters to fit multicolor wires through the factory emblem.
Step 5: Next re-pin the led connectors (skip you if did not de-pin) and wire your led emblem based on which LED version you have:
- RGBW version wiring: plug your led letters into the included led driver first then plug led driver into the controller. (Do NOT Plug LED Letters straight into controller, this will burn out leds)
- Flow version wiring: no led drivers required (Plug letters straight into controller)
Step 6: Enjoy your new RGB Halo Kits GMC Multicolor emblem!
Additional installation videos
These earlier demonstrations may show a different controller revision. Use the current kit-specific wiring instructions above for your supplied hardware.
Source and installation help
Checked against GMC Illuminated LED Emblem Install Guide in the RGB Halo Kits Help Center on October 22, 2026. Follow the instructions supplied with your exact kit if hardware versions differ.
Controller and wiring guide · Ask installation support · Browse lighting guides