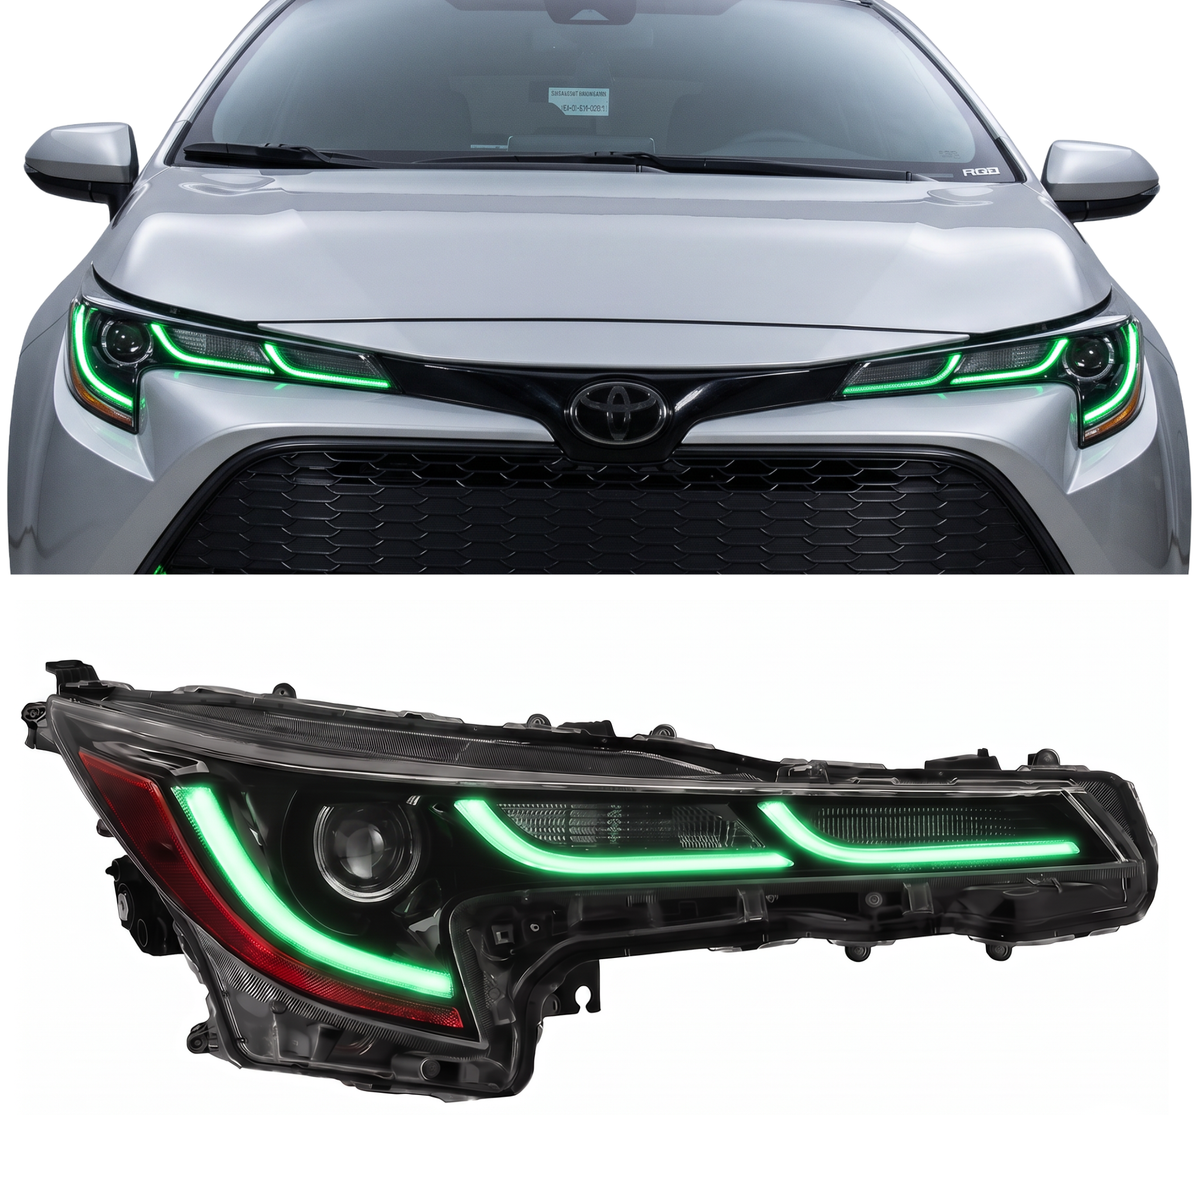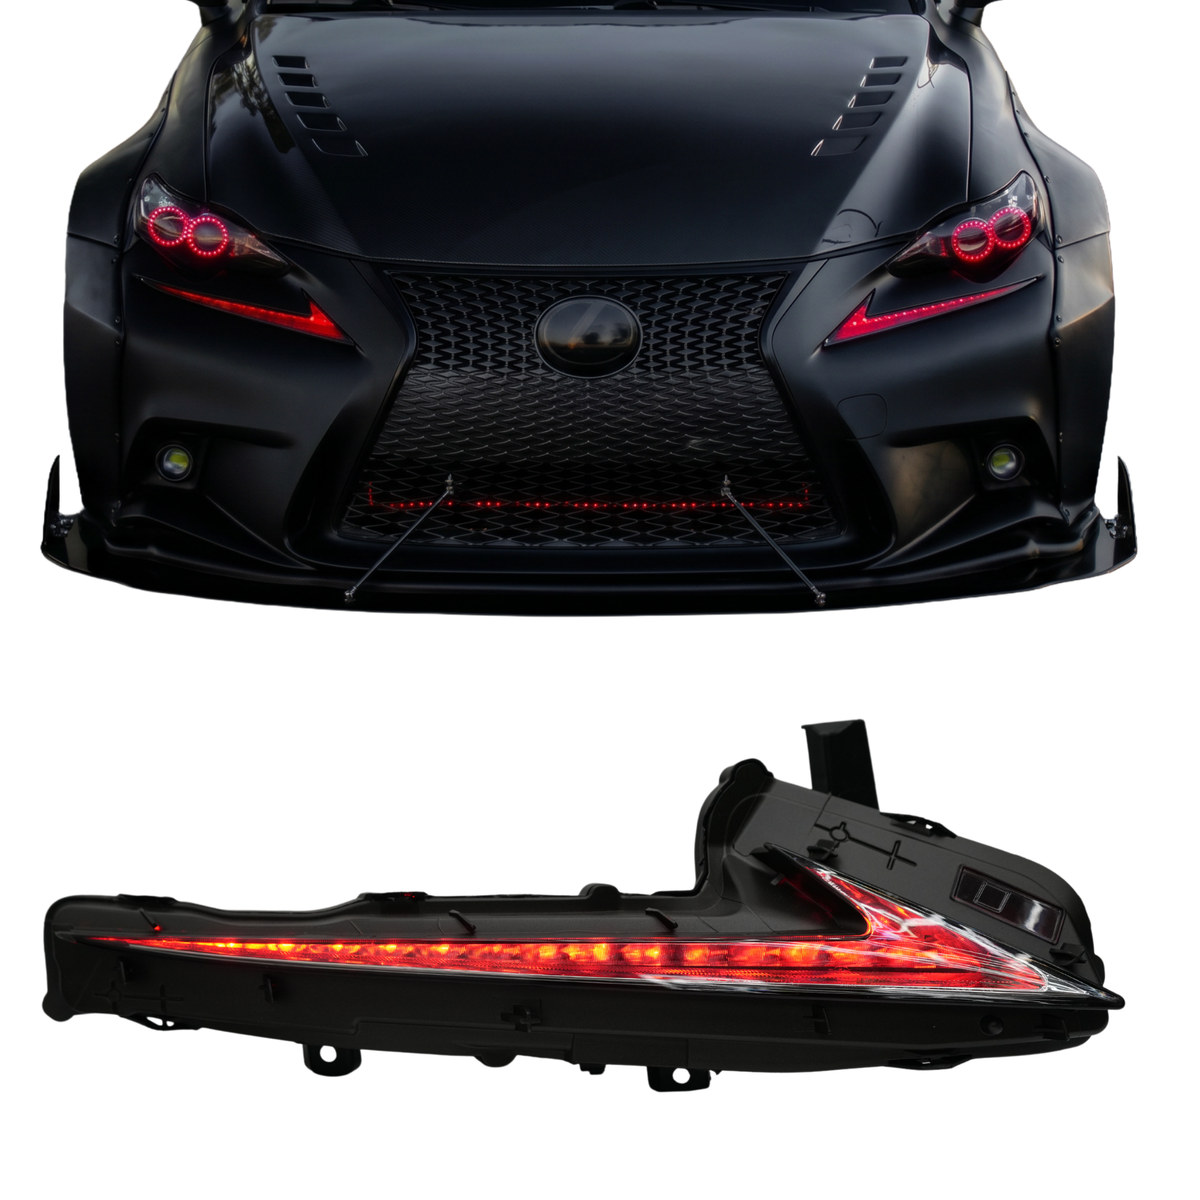

This installation reference covers 2015-2023 Dodge Challenger RGBW DRL Boards or Halo Kit. Match the product, vehicle configuration and controller part number before starting.
Part # E7
2015–2024 Dodge Challenger RGBW DRL Boards
Install Guide
🧰 Tools Needed
Phillips and Flathead Screwdrivers
10mm Socket & Ratchet
Trim Removal Tool or Flat Pry Tool
Oven (or heat gun)
T20 Torx bit (for headlight internals)
Gloves (recommended for clean handling of components)
Butyl Sealant (for resealing headlights)
3M Double-Sided Tape or Mounting Screws (for Demon Eye placement)
🧪 Step 1: Test Your DRL Boards
Before installing, test all DRL boards using your controller and power source. This ensures there are no manufacturing defects and helps you understand the wiring.
📄 View RGBW Wiring Guide or see video below ›
🛠️ Step 2: Remove the Front Bumper
15-24 Challenger Bumper Removal PDF
To access the headlights, you’ll need to remove the front bumper. While we don’t have a custom RGB Halo Kits video for this model yet, here’s the best video we’ve found for bumper removal on 2015+ Dodge Challengers:
🎥 Watch Dodge Challenger Bumper Removal Video ›
♨️ Step 3: Open the Headlights
Use the baking method to safely open the headlight housings. We’ve tested this extensively and recommend it for the Challenger.
🎥 Headlight Opening & Resealing full Guide or see video below ›
💡 Step 4: Install the DRL Boards
Each headlight will use 2 DRL boards, for a total of 4 boards across both headlights. Inside each housing, you'll find two different board shapes:
Board A and Board B go in each headlight.
The passenger side will use one A and one B.
The driver side will also use one A and one B.
⚠️ Note: On the most recent production batch, the boards may not be labeled. If that’s the case, test fit each board inside the housing to determine which position it belongs in—one shape will only fit correctly in one of the two DRL locations per headlight.
Secure each board using the original screws or supplied hardware. Once installed, verify that the LED chips face outward through the DRL lens area.
👁 Step 5: Install the Demon Eye Add-On (Optional)
If you purchased the Demon Eye add-on, now is the time to install it while the headlight lens is open.
🔩 Mount the Demon Eye LED behind the projector lens.
🧲 Use 3M double-sided tape and jb weld steel stik or fast drying epoxy to secure the LED in place.
⚡ Wire the Demon Eye to your RGBW controller
🔒 Step 6: Reseal the Headlights
Use our butyl sealant to fully reseal your headlights for a watertight fit. Apply consistent pressure or clamps while cooling to ensure a firm bond.
🎥 Headlight Resealing Guide or see video above›
Step 4: Alternative: Halo Kit Install video
if you purchased the halo ring kit instead of the DRL boards
Additional installation videos
These earlier demonstrations may show a different controller revision. Use the current kit-specific wiring instructions above for your supplied hardware.
Source and installation help
Checked against 2015-2024 Dodge Challenger RGBW DRL Boards or Halo Kit Install Guide in the RGB Halo Kits Help Center on October 22, 2026. Follow the instructions supplied with your exact kit if hardware versions differ.
Controller and wiring guide · Ask installation support · Browse lighting guides