Skip to content

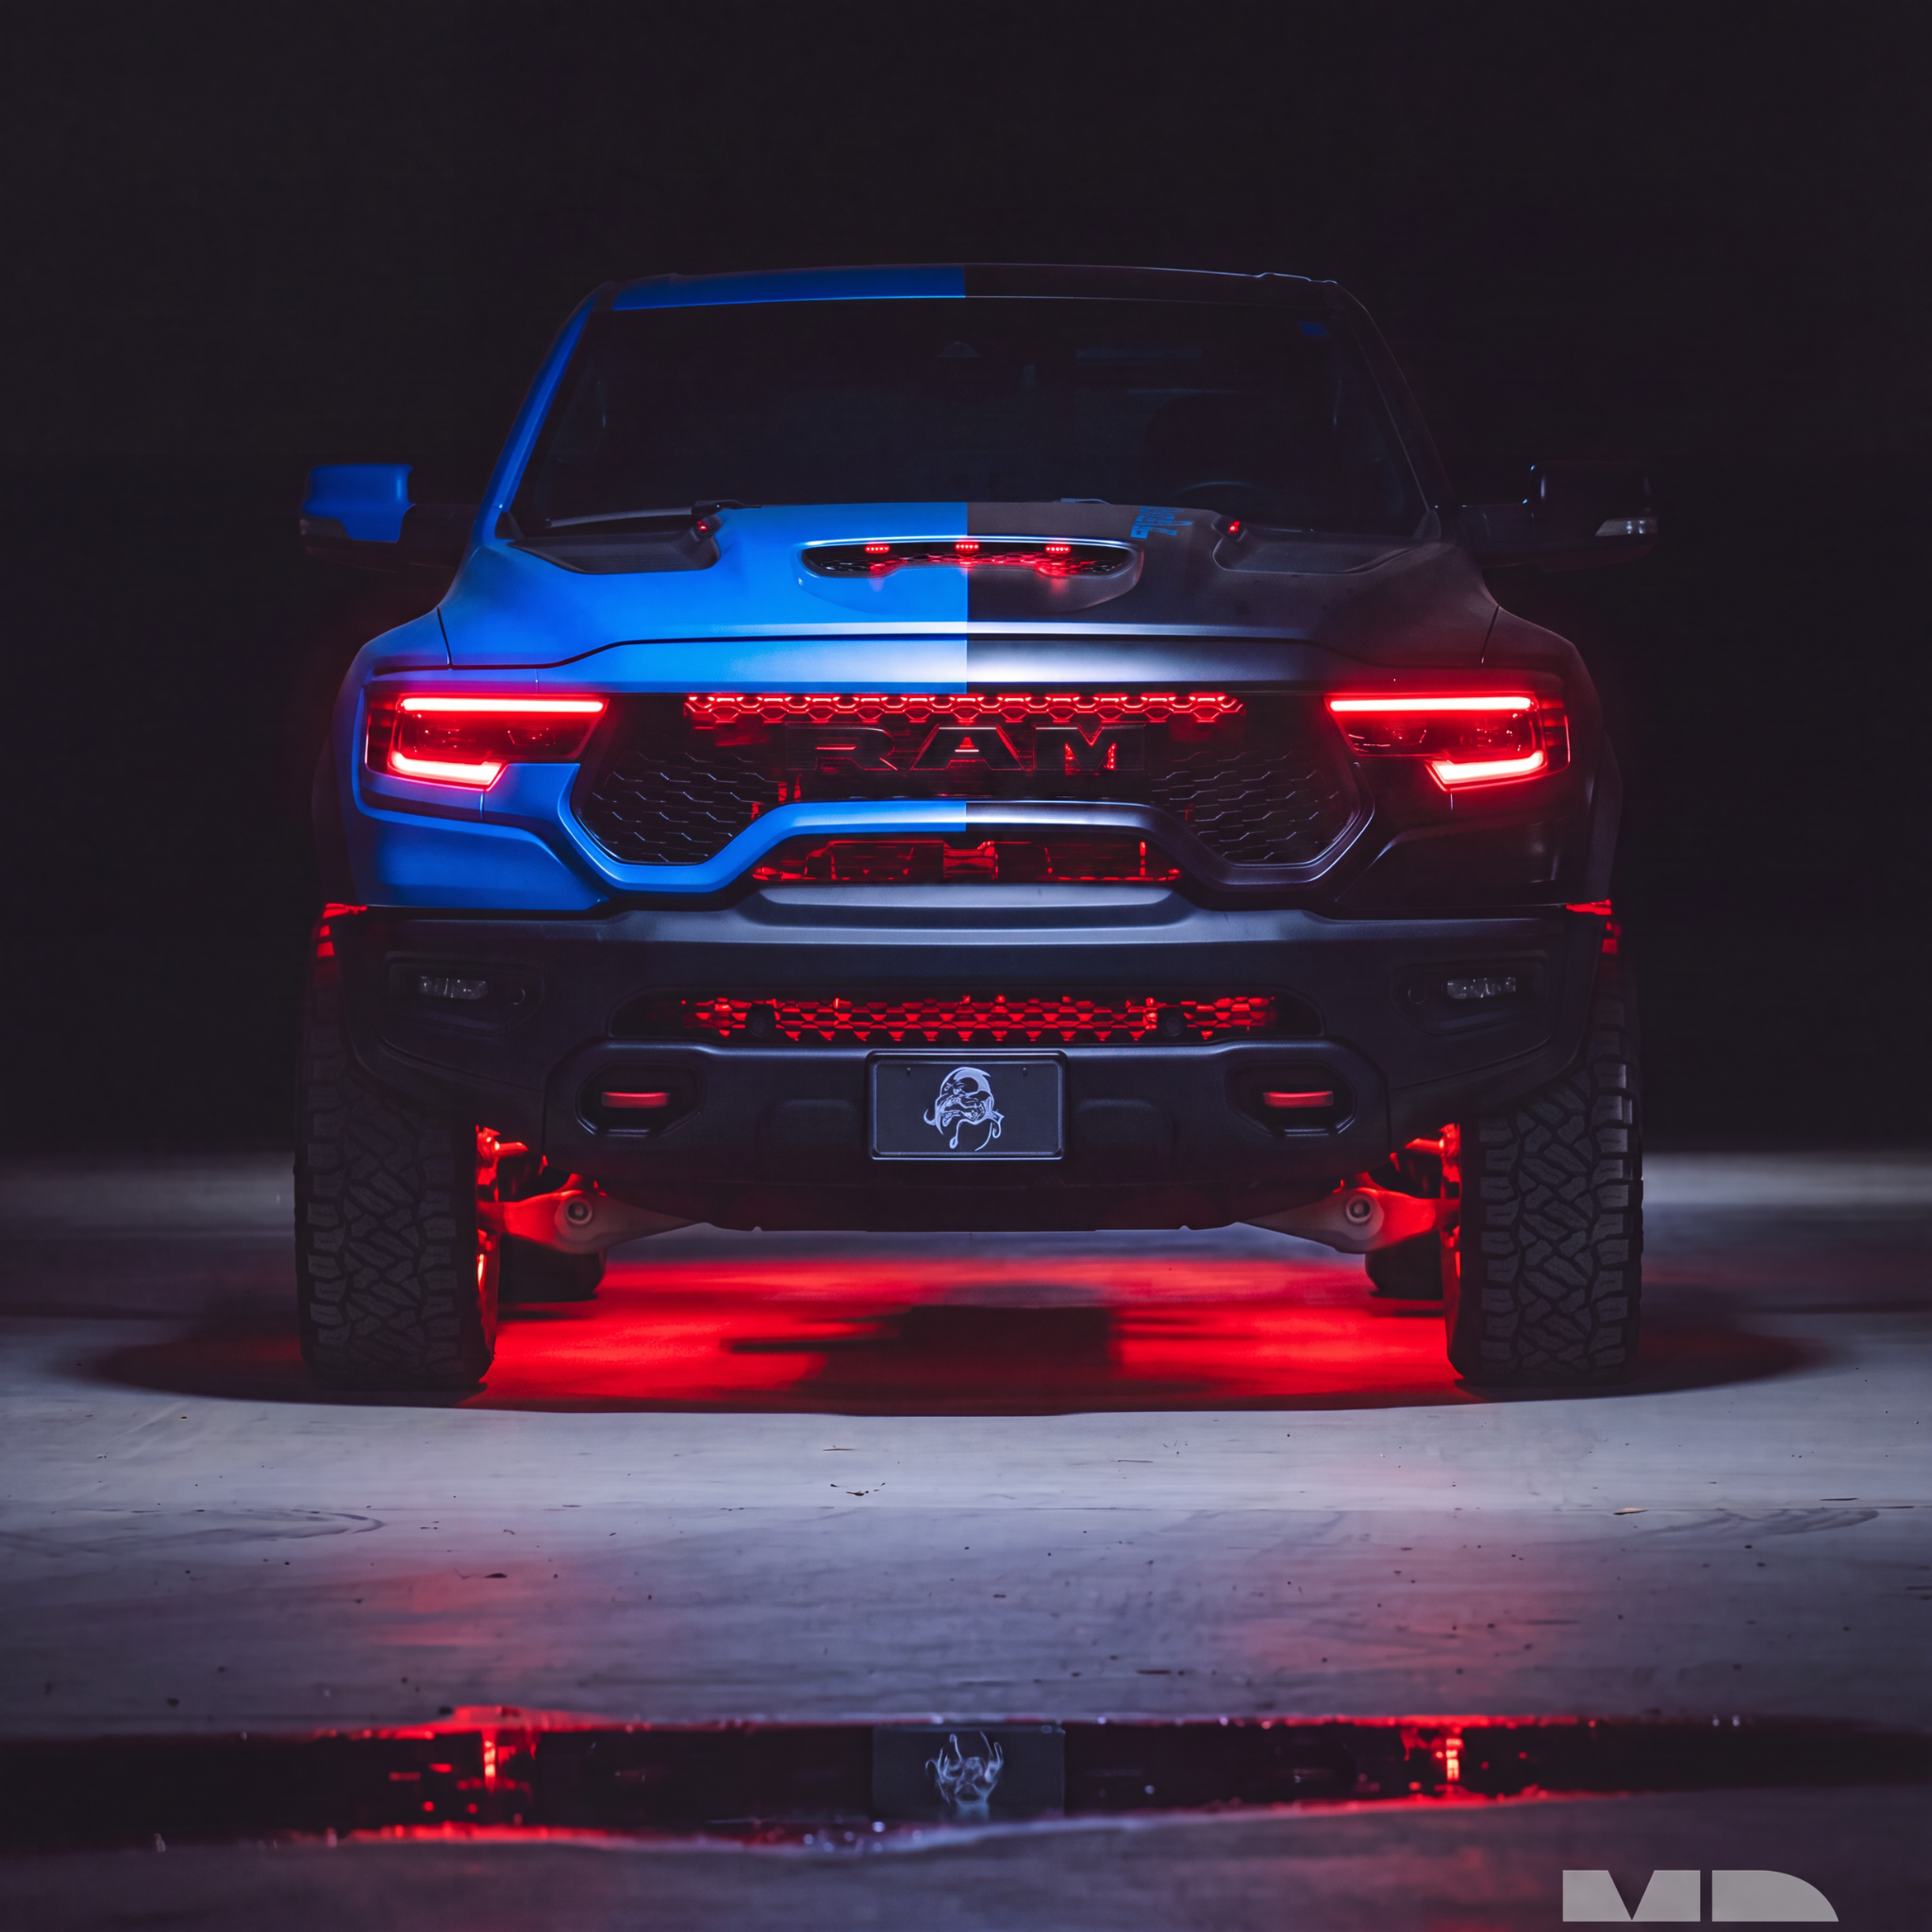

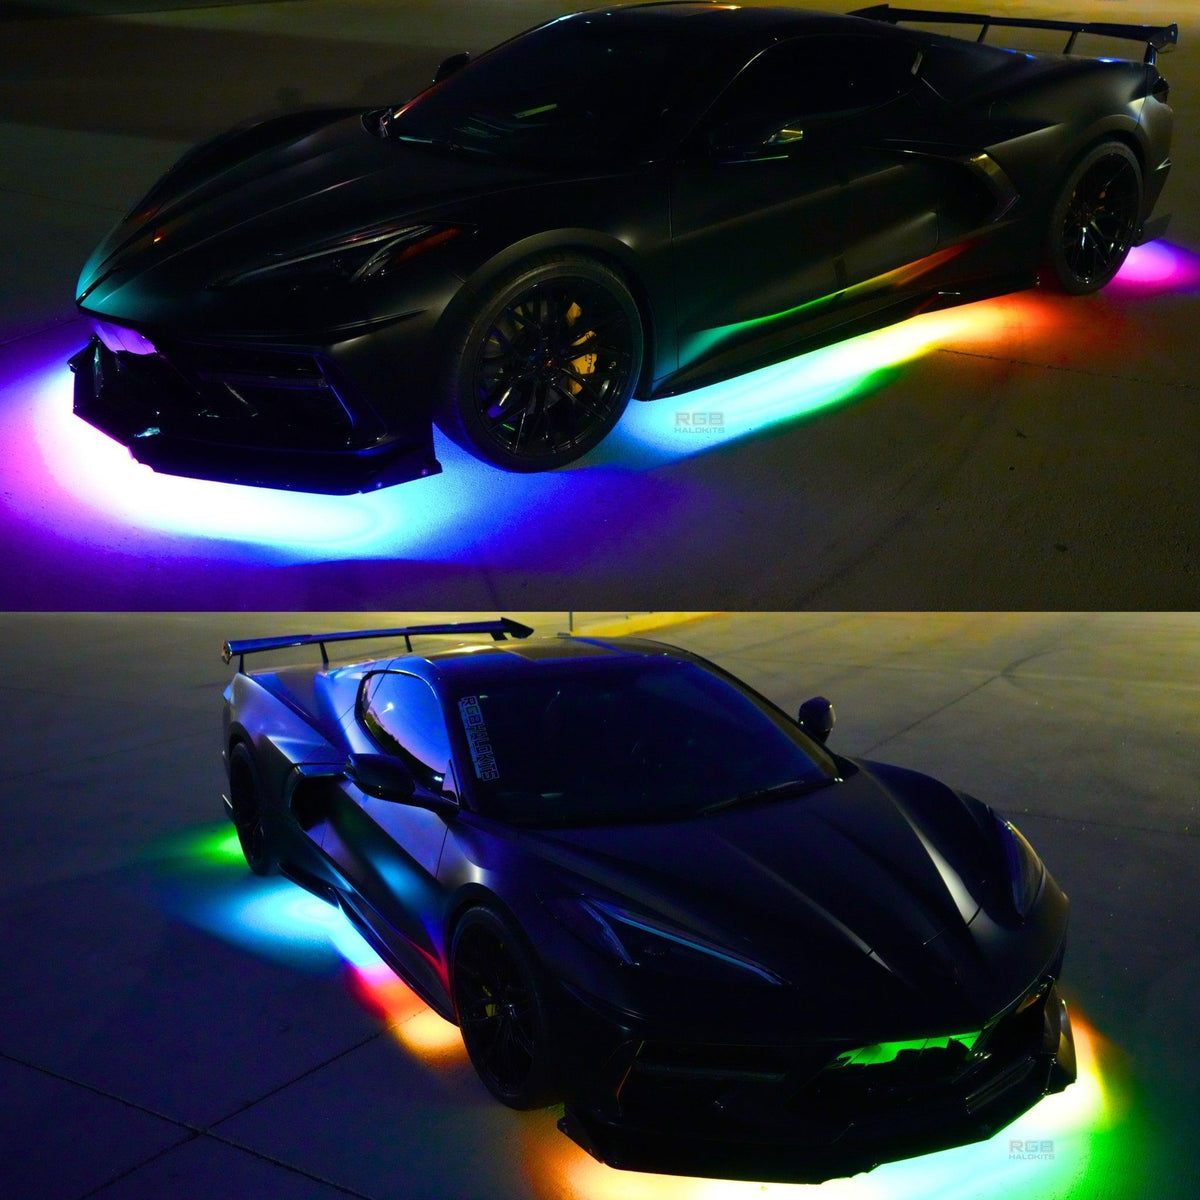
This installation reference covers Flow Flexible Underglow 2.0 Install Guide (4pc kit). Match the product, vehicle configuration and controller part number before starting.
Part # M11, N1
✨ Step-by-Step Installation Guide for Your Flexible 4pc Underglow Kit
This guide is for: LED Underglow Lighting Kit 3.0 – Flexible
-
This kit includes pre-sized strips:
- Front: 36"
- Sides: 60" each
- Rear: 36"
🔧 Required Tools & Materials
- Rubbing alcohol + clean cloth
- Adhesive promoter (optional but recommended)
- Zip ties or wire clips (for wire management)
- Small daps of epoxy (optional for added hold)
- Wire tuck tools or panel poppers (optional)
✅ Install Overview
- Mount Bluetooth Controller in front engine bay near the battery or fuse box.
- Strip Direction Matters: All LED strips must flow front to back (follow arrow direction printed on the strip).
- Clean all mounting surfaces with alcohol to remove grease/dust.
- Use adhesive promoter for surfaces like plastic or textured underbody.
-
Peel and stick strips down in this order:
- Front (1 strip)
- Sides (1 long strip per side)
- Rear (1 strip)
- Use small daps of epoxy on both ends + center of each strip for extra hold.
- Mounting brackets are included but rarely needed for the strips themselves. Instead, use them to secure wire runs under the vehicle. If needed for strips see diagram below.
8. Tuck interconnecting wires through fender liners (from front to sides, and sides to rear).
9. Connect strips to controller using labeled plug ends.
🚀 Controller Power & Wireless Relay Info
- This controller features a built-in wireless relay.
- After the controller is powered (wired to 12V), you must manually turn the remote ON.
- Use the remote ON/OFF only when the vehicle will be sitting for extended time.
- For regular use: control lights via the RGB Halo Kits app.
🖉 Using the App
- Download the RGB Halo Kits app from iOS or Android store.
- Connect via Bluetooth and explore:
- Color changing modes
- Flow patterns
- Custom scenes
⚠️ Tips & Warnings
- Never cut or shorten strips
- Avoid mounting strips too close to the exhaust or moving suspension parts
- If 3M tape loses stick over time, epoxy or replacement tape can help
- Ideal to install in a clean, dry garage or out of direct sunlight
🔹 Reference Diagram
(See visual below. All arrows show required LED flow direction: front to back)
Questions? Contact us anytime at info@rgbhalokits.com or DM us on Instagram @RGBHaloKits.
Enjoy your underglow setup!
Additional installation videos
These earlier demonstrations may show a different controller revision. Use the current kit-specific wiring instructions above for your supplied hardware.
Source and installation help
Checked against 4pc Flexible Underglow Kit Installation Guide | RGB Halo Kits in the RGB Halo Kits Help Center on October 22, 2026. Follow the instructions supplied with your exact kit if hardware versions differ.
Controller and wiring guide · Ask installation support · Browse lighting guides