Skip to content

Method 1: How to Open and Reseal Headlights using Butyl Sealant
(Baking or Heat Gun method)
Opening and resealing your headlights is a relatively straight forward DIY task that can save you a lot of money vs using a professional if you take time to understand how to do it correctly . Using a OEM grade headlight sealant like butyl.
What is Butlyl Sealant?
Butyl sealant is a type of adhesive sealant that is known for its excellent resistance to water and heat. It is commonly used in a variety of applications, including automotive tasks such as sealing headlights. Butyl l is key to ensure a durable and watertight seal. Here's how to do it:
Tools and Materials needed
You will need the following:
- Oven or heat gun
- Screwdriver
- Butyl sealant
- Protective gloves
Step-by-step Instructions
- Remove the headlight from your vehicle. On some vehicle you may need to remove the bumper to access the headlights. Bumpers can be removed on any vehicle and consist of a series of clips and screws located at the top, bottom, and sides of the bumper. We recommend checking out a youtube video on how to remove your vehicles bumper for help. After you have access to headlights, be sure to disconnect the headlight from your car's headlight harness, this is usually just a simply plug. Then, using a screwdriver or necessary tool to remove the headlights bolts/ screws that secure the headlights to the vehicle.
- Heat up the headlight assembly. Place your headlight assembly in a conventional oven set to around 200-240 degrees Fahrenheit for about 10-15 minutes. This will soften the existing sealant and make it easier to open the headlight. If you're using a heat gun, aim it at the edges of the headlight, moving it constantly to prevent overheating.
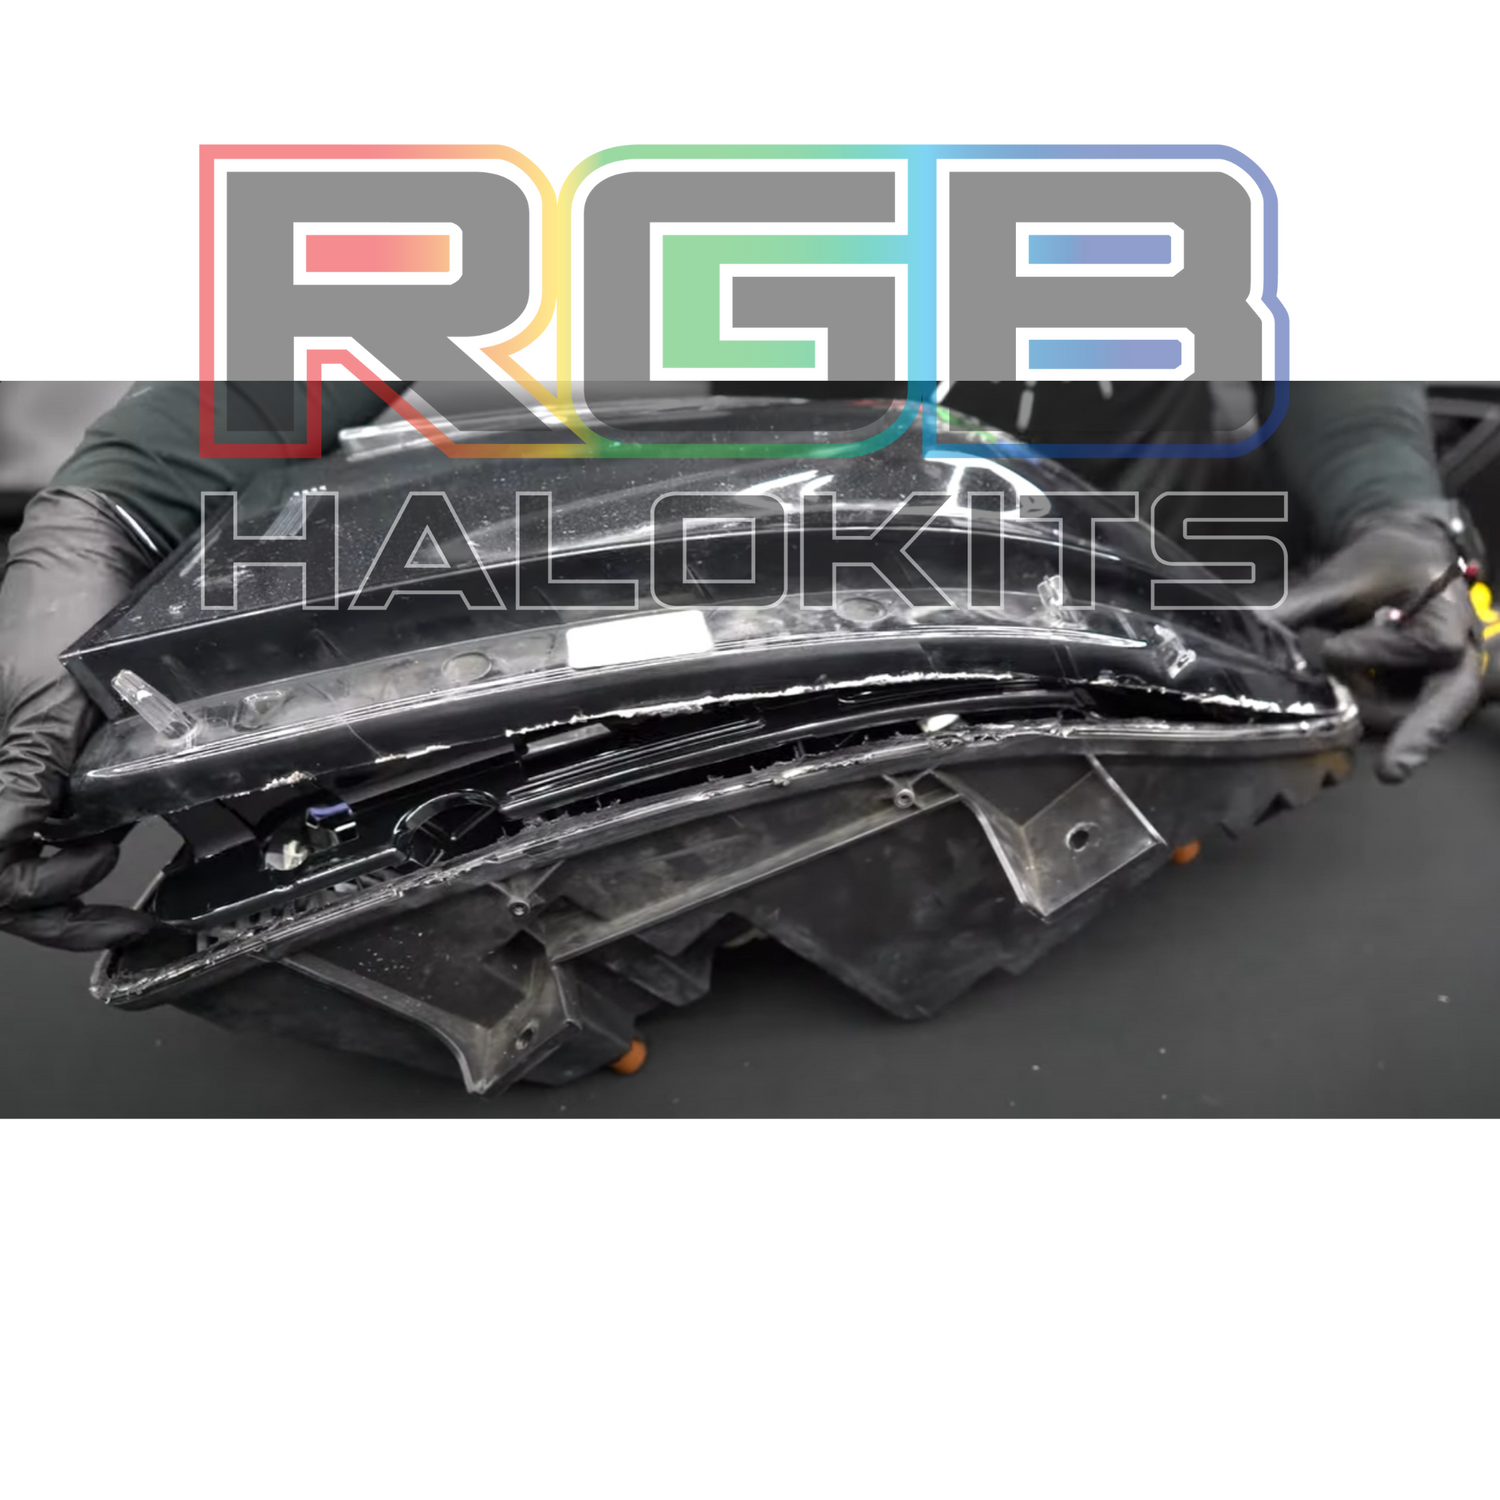
- Open the headlight. Wearing protective gloves, slowly and carefully pull apart the two halves of the headlight assembly.
- Resealing the headlight part 1: Remove old sealant and apply new butyl sealant. With the headlight open, remove the old sealant in the headlight the sealant is not butyl sealant. If the factory sealant is butyl then simply put simply a layer of butyl sealant over the old sealant. Ensure it's evenly spread throughout the entire headlight channel for a watertight seal.
- Reseal the headlight part 2. Press the two halves of the headlight assembly back together. Apply heat again, just as before, to soften the butyl sealant and ensure a tight seal. Use alligator clamps around the entire headlight to ensure a strong bond.
- Allow to cool. Let the headlight assembly cool for a while before reinstalling it on your vehicle. This will ensure the sealant has time to harden and provide a strong, waterproof seal.
By following these steps, you can successfully open and reseal your headlights using butyl sealant or a heat gun. If you encounter any difficulties, consider seeking the help of a professional or reach out to us for recommendations.
Method 2: How to Open and Reseal Permaseal Headlights (Cutting Method)
Some Headlights feature a new harder type of sealant called permaseal.
What is Permaseal Sealant
Permaseal is another type of adhesive sealant often used in automotive applications, including headlight sealing. It is known for its strong bonding properties and durability. Unlike butyl sealant, permaseal doesn't soften much with heat, making the oven or heat gun methods very hard to use with these headlight types.
Due to this, headlights with this sealant are very hard to open using a heat gun or oven and its recommended to cut open these types of headlights. Some examples of these types of headlights are 2014+ Jeep Grand Cherokee Headlights.
Tools and Materials needed
You will need the following:
- Oscillating Tool, Dremel, Ultrasonic Cutter
- Silicone Sealant
- Plastic welder or Hot knife/ Soldering Iron
- Protective gloves
Step-by-step Instructions
- Remove the headlight from your vehicle. On some vehicle you may need to remove the bumper to access the headlights. Bumpers can be removed on any vehicle and consist of a series of clips and screws located at the top, bottom, and sides of the bumper. We recommend checking out a youtube video on how to remove your vehicles bumper for help. After you have access to headlights, be sure to disconnect the headlight from your car's headlight harness, this is usually just a simply plug. Then, using a screwdriver or necessary tool to remove the headlights bolts/ screws that secure the headlights to the vehicle.
- Open the headlight. Wearing protective gloves, slowly and carefully cut around the entire seal. Cut the seal where the lens meets the housing. Be sure to use slow and controlled cuts until you have worked your way around the entire headlight assembly.
- Resealing the headlight part 1: to reseal bring the two halfs of the headlgiht togeether as best you can then use a hot knife to melt the plastic and form a bond around the seal (Plastic weld)
- Reseal the headlight part 2. After your plastic weld, use a RTV silcione selant and put a bead of sealant around the entire seal, this will be sure to seal any gaps or cracks missed from the weld.
- Allow to cool. Let the headlight assembly cool for a while before reinstalling it on your vehicle. This will ensure the sealant has time to harden and provide a strong, waterproof seal.
By following these steps, you can successfully open and reseal your headlights using the cutting method. If you encounter any difficulties, consider seeking the help of a professional or reach out to us for recommendations.
Method 3: How to Open and Reseal Permaseal Headlights (Baking Method)
if you have Permseal Headlights and would still rather use the bake or heat gun method to open your headlights. here is an install video on this process!
Method 4: Get a local professional to open and reseal your headlights or ship us your headlights and we can do it for you!
The third-party video in this article belong to their creators and are used by RGB Halo Kits for instructional purposes. We don't own these videos, and their accuracy isn't guaranteed. If you have concerns about the content, please don't hesitate to get in touch with us. Users agree to these terms by using the videos.