Skip to content



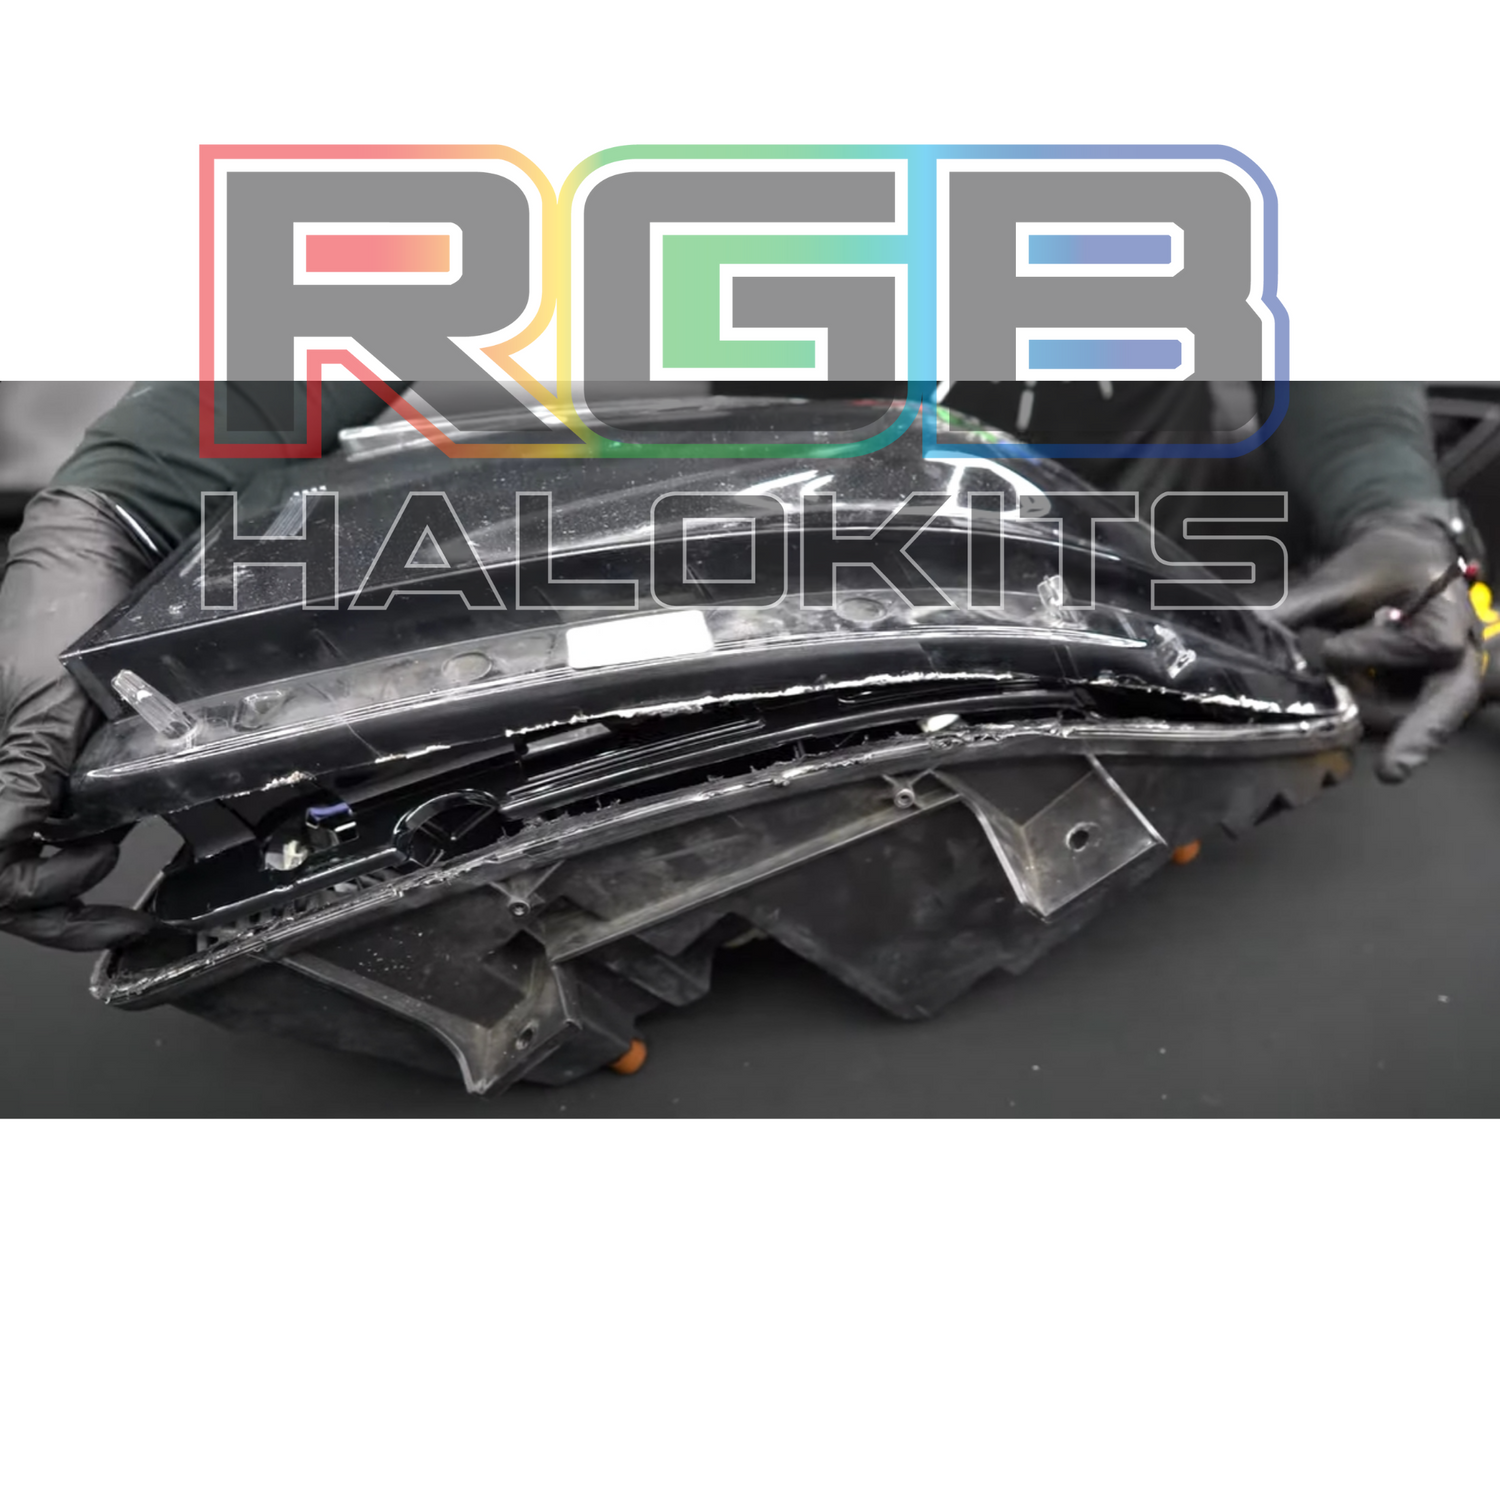
This installation reference covers How to Open and Reseal Headlights: Butyl vs. Permaseal. Match the product, vehicle configuration and controller part number before starting.
The right way to open and reseal a headlight depends on the housing, sealant and previous repairs. Butyl often softens with controlled heat. Harder permaseal can require a different opening method. Identify the housing before choosing a process.
Butyl vs. permaseal
| Sealant | What to expect | Planning the job |
|---|---|---|
| Butyl | A rubbery seal that can soften with controlled heat. | Use the housing-specific heating and separation process, then prepare and reseal the channel. |
| Permaseal | A harder bond that may resist normal heat-opening methods. | Use a method confirmed for that housing; some require cutting and reconstruction of the seam. |
Do not identify a sealant solely from the vehicle year. Original and aftermarket headlights can differ, and previously opened housings may contain different materials.
Before opening the housing
- Read the complete instructions for the exact headlight and kit.
- Plan vehicle access and removal using the appropriate service procedure.
- Identify removable modules and heat-sensitive parts.
- Check that you have the correct tools, sealant and resealing method before starting.
- Arrange an experienced installer if cutting, plastic repair or resealing is outside your experience.
Can every headlight go in an oven?
No single temperature and time applies to every assembly. Lens materials, electronics, seals and construction differ. Follow a method confirmed for your housing, monitor the process and stop if the housing deforms or the seam will not release. More heat or force can damage a headlight.
Opening and resealing overview
- Remove and prepare the assembly. Disconnect it and remove the components required by the applicable procedure.
- Open using the confirmed method. Work around the seam carefully without damaging the lens, tabs, wiring or internal surfaces.
- Complete and test the lighting installation. Resolve wiring or mounting issues while the housing is accessible.
- Prepare the seam. Remove contamination and address damage using the appropriate repair method.
- Reseal for the way it was opened. A heat-separated channel and a cut housing seam need different treatment.
- Inspect and allow the required setting time. Follow the sealant instructions before refitting and final testing.
Resealing a cut housing is a separate repair
Adding a bead of sealant over a damaged cut seam may not restore its structure. The repair can involve aligning and rebuilding the seam before sealing it. Use the detailed procedure or an installer experienced with that housing.
Opening and resealing videos
The following demonstrations cover different methods. Choose the method that applies to your housing rather than following every video as a universal procedure. Third-party videos belong to their creators.
Final checks
Inspect the lens-to-housing seam, dust caps, vents and added wire-entry points. Keep designed vents functional. Check the lights before and after refitting and follow the applicable leak-check procedure.
Continue with the detailed Help Center opening and resealing guide or read what to check when moisture returns.
Related guides
Browse all lighting guides · Help Center
Resealing details from the Help Center
For a heat-opened butyl channel, inspect the existing sealant and replace contaminated, dry or missing material. Seat the lens evenly and hold pressure while the seal cools. For a cut-open housing, align and structurally rejoin the seam before applying a continuous waterproof seal; silicone alone is not the structural repair. Follow the material’s cure time before reinstallation.
Source and installation help
Checked against How to Open and Reseal Headlights (Comprehensive Guide) in the RGB Halo Kits Help Center on October 22, 2026. Follow the instructions supplied with your exact kit if hardware versions differ.
Controller and wiring guide · Ask installation support · Browse lighting guides