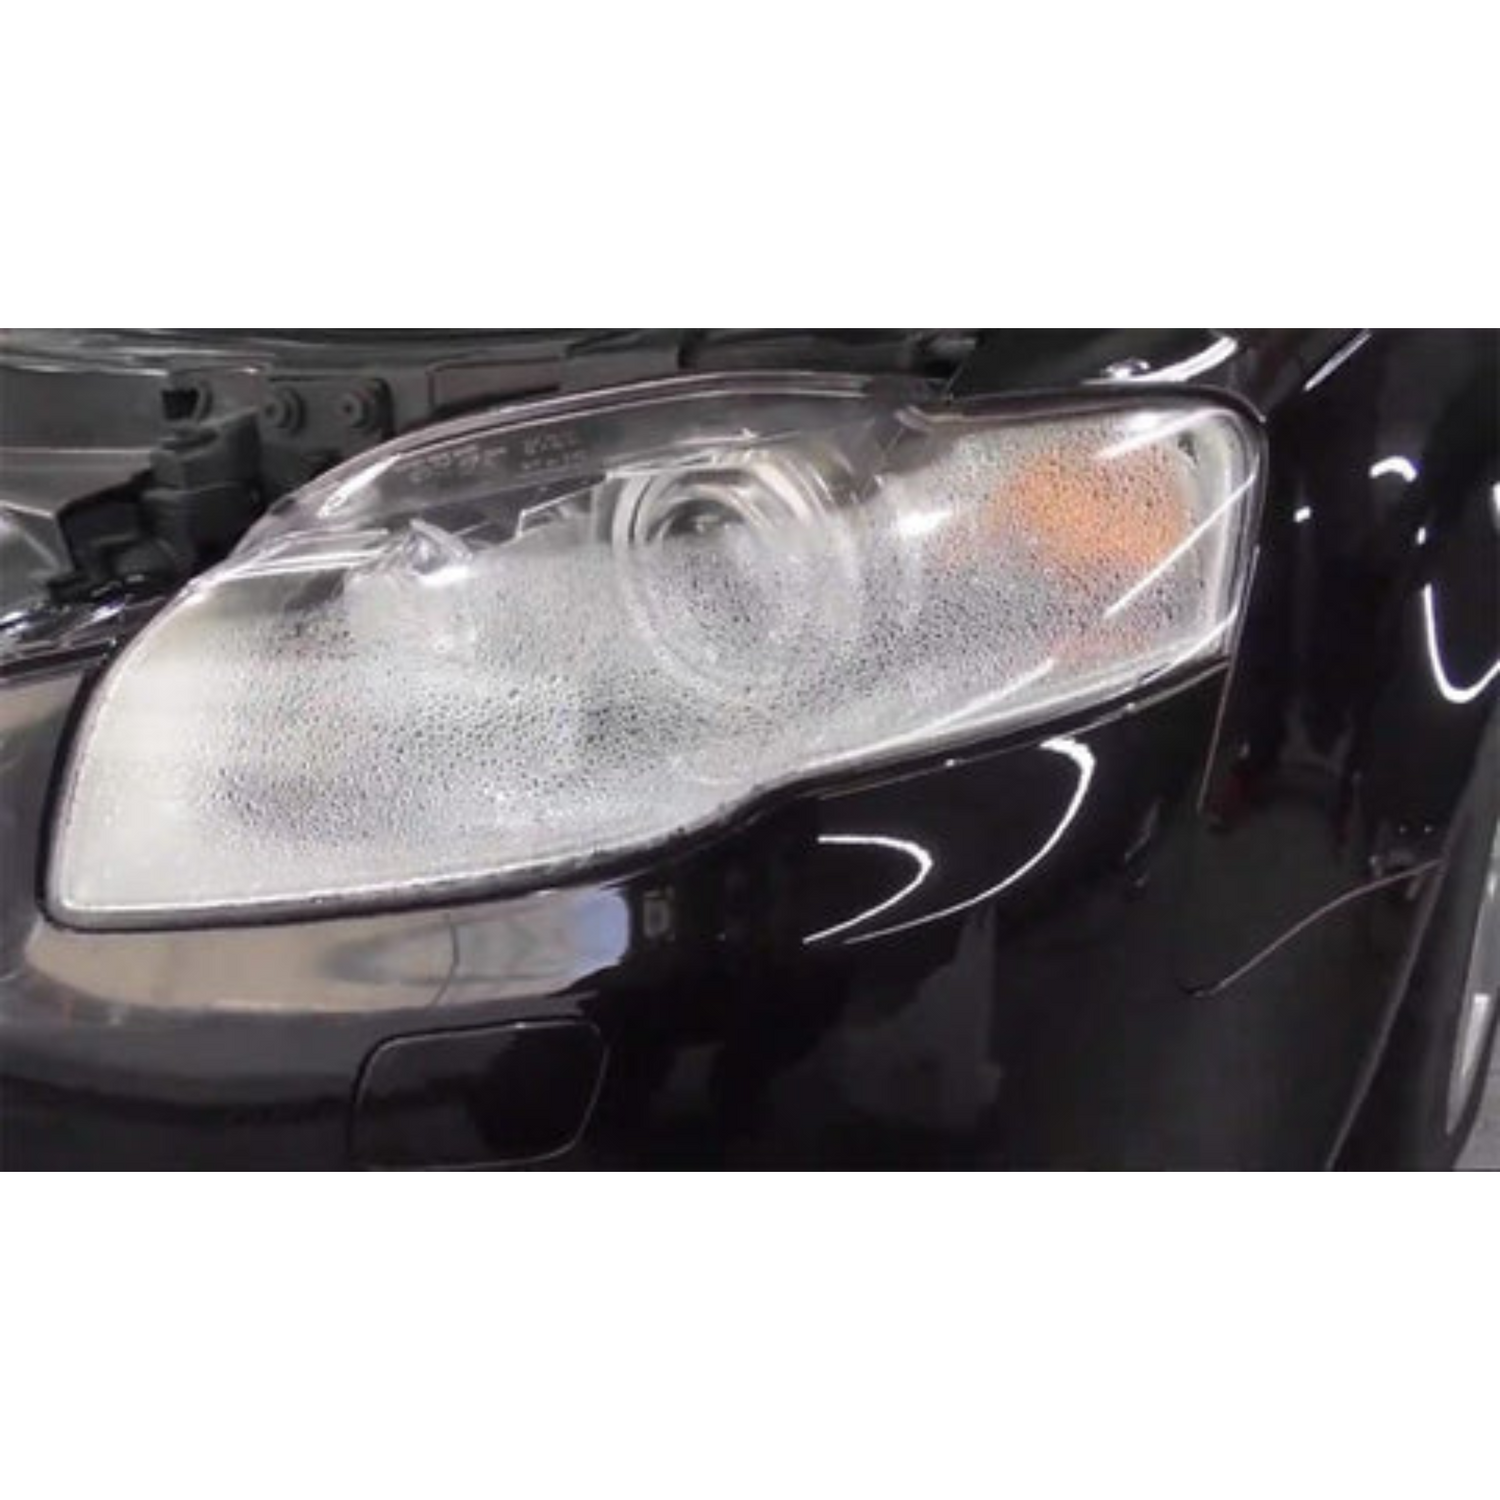
Moisture and condensation inside headlights not only obstruct visibility but also pose potential risks to your vehicle's lighting system. In this introductory exploration, we embark on a journey to uncover the causes of moisture buildup and effective methods to address this common issue. Join us as we shed light on the importance of maintaining clear, moisture-free headlights for optimal safety and performance on the road.

Step 1: Allow the Headlights to Dry and Air Out. Remove the back cap of the headlight to let it air out. To expedite the drying process, use a heat gun, air tool, or blower to circulate air inside the headlight. Alternatively, parking the vehicle in sunlight for approximately 24-48 hours with the back cap off can also effectively dry out any moisture.
Step 2 (Optional): Seal with Breather Patches After ensuring the headlights are completely dry, consider drilling a small hole at the bottom of the headlight and sealing it with a Breather Patch. These patches facilitate airflow while preventing moisture ingress. Breather Patches are available here: Breather Patch.
Step 3: Inspect and Reseal the Headlights Once the headlights are dry, check the seal for any visible gaps. The resealing method depends on the initial opening technique:
- For headlights that were cut open: Reseal the entire edge with RTV Silicone Sealant, available at local hardware stores.
- For headlights that were baked open: Reheat the headlight in an oven and press firmly to reseal.
Step 4: Cure and Test the Headlights Allow the headlights to cure for several hours. Then, conduct a thorough test using a hose or shower to ensure there are no leaks before reinstalling the headlights on the vehicle.


